There is a wide range of materials that people use to create beautiful pieces of jewelry, a large fraction of which is handmade accessories. Many types of these you can make with your own hands with little effort, like cool vsco bracelets. You just need another day or two to master a certain technique.
- What kind of material is yarn?
- How to make a yarn bracelet
-
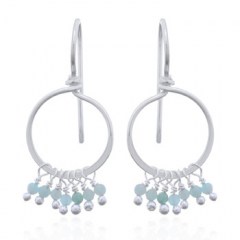 925 Silver Drop Earrings with Dangling Amazonite Beads by BeYindi 30.17 USD
 -
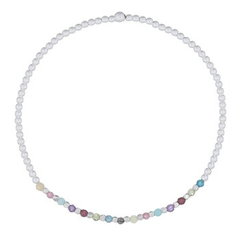 Multi-colored Stone With Sterling Silver Stretchable Bracelet by BeYindi 24.92 USD
 -
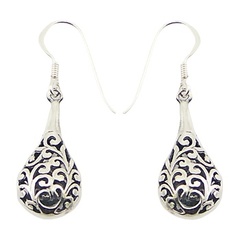
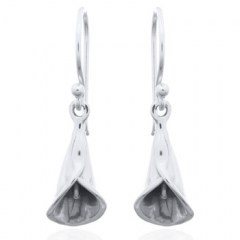 Calla Lily Flower High Polish Silver Dangle Earrings by BeYindi 23.88 USD
 -
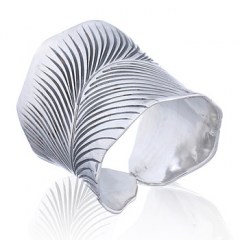
 Square Turquoise 925 Silver Huggie Drop Earrings by BeYindi 15.41 USD
Content of the table

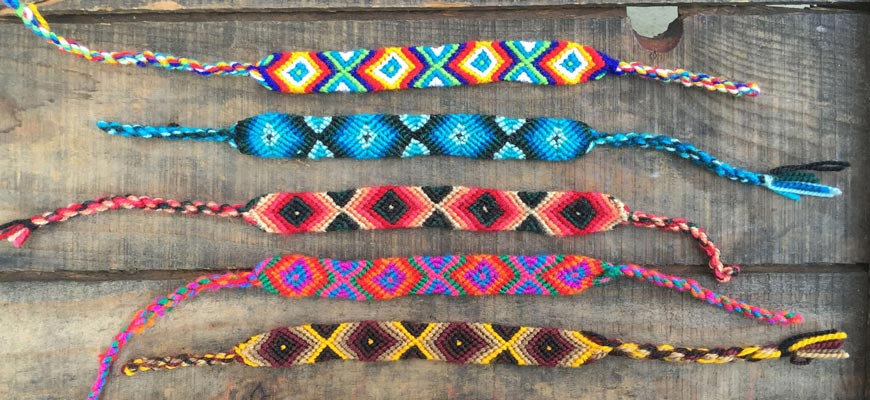
In this article, you will learn how to create an adorable yarn bracelet. We will teach you a basic method great for beginners, but if you’re already a true pro at weaving bracelets, you may also get some new skills from this tutorial!
What kind of material is yarn?
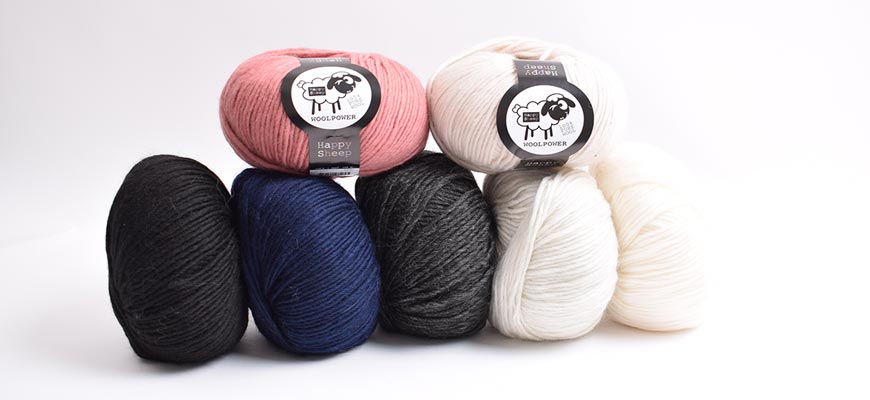
First, let’s get acquainted with the key material used in weaving bracelets at home. Yarn is basically a length of fibers utilized in sewing, braiding, weaving, knitting, etc. Yarn can be made from various synthetic or natural fibers; two main types of yarn are filament and spun.
Polyester and cotton are other widely used types of fiber made into yarn for weaving or knitting. People fond of working with tissues may also opt for animal fibers, like angora, cashmere, silk, and others. In our case, we recommend that you use synthetic threads, as they are somewhat easier to work with due to their sleeker surface.
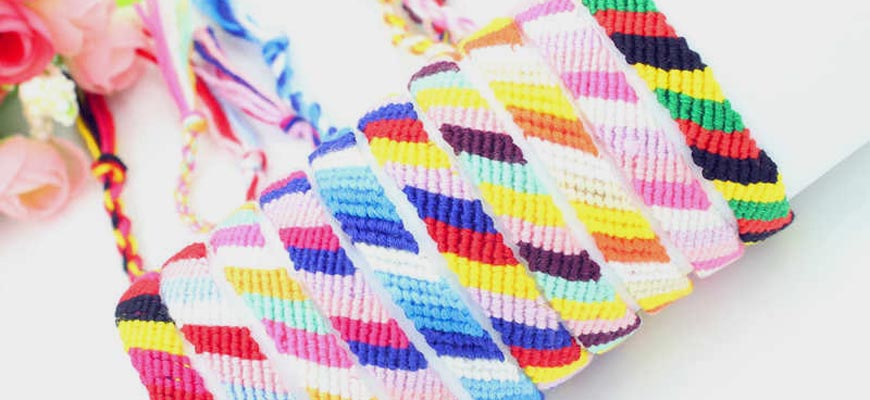
Yarn is a common material used in bracelet creation, be it handmade bracelets or those manufactured on a factory. It boasts vibrant colors and will serve you a long time, depending on how often you wear it.
How to make a yarn bracelet
Now, let’s get down to learning something new; namely, weaving a simple macrame bracelet using yarn.
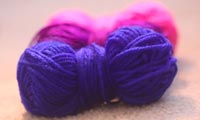
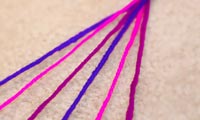
Pick your yarn for a future bracelet; we suggest that you take medium worsted yarn. You will also need to select three different colors to work with. We are going to use a pink, blue, and violet thread.

Now, it’s time to do some measurements. You will need 55 inches of each thread, meaning that you will have three pieces of yarn each accounting for 55 inches.
Take the threads, fold each in half, and make one knot from three threads. You also want the materials to stay steady while you weave a bracelet; for this purpose, use a safety pin. The threads that you folded in half created a loop, in which you should bring the pin and attach it to a stable place. You can also substitute a safety pin with tape or just place a bracelet on your lap.
Lay out all six threads before you and below the knot. Here, you are to create a sequence of colors that you want to see in your accessory. We will have it in such a way left to right: blue, pink, violet, blue, pink, violet.
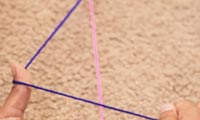
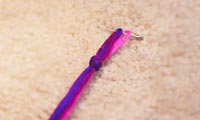
Take the outermost blue thread and the pink one right next to it; make a 4 from these two threads by folding the blue thread in a shape of the triangle while the pink one stays straight.
Put the end of the blue thread beneath the pink one and make a knot by pulling the blue thread up.
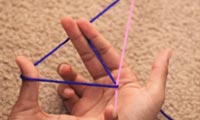
 Repeat so that the blue thread forms a loop on the pink one and has its end on the right side from the pink thread. Then proceed to the violet thread.
Keep doing the same manipulation with each thread until you reach the last one. Repeat steps 5 and 6 until you have the perfect size of the bracelet.

To finish your bracelet, tie one knot on the end of all threads brought together and cut the remaining parts. Make sure to leave one thread uncut on both sides of the bracelet. To wear your bracelet, tie two ends up.
Once you remember how to make a knot on each thread, it will be surprisingly easy for you to make such bracelets. We hope our tutorial was helpful and we managed to inspire you to create more masterpieces with your own hands!